Hello!
On July 11th, 2019, Microsoft announced the new Azure Migrate. This tool already existed but was quite limited. Now it has some interesting options, including:![]()
*For more information Click here.
Due to the relevance of the subject for our daily migrations, I share with you below a step-by-step guide for migrating some virtual machines in a VMware environment using Azure Migrate, as well as their assessment.
Scenario:
VMware cluster consisting of 3 hosts Virtual machines with different operating systems (Linux and Windows)
Objective:
Perform an assessment to identify the correct size of each VM to be migrated to Microsoft Azure Perform migration to Azure
Requirements:
Check VMware server requirements for assessment. Make sure that the necessary ports are open on the vCenter servers
For more information Click here.
Step-by-Step – Part 1:
- Create the resource called “Azure Migrate”. You can search for “Azure Migrate” in the azure search bar to find it.
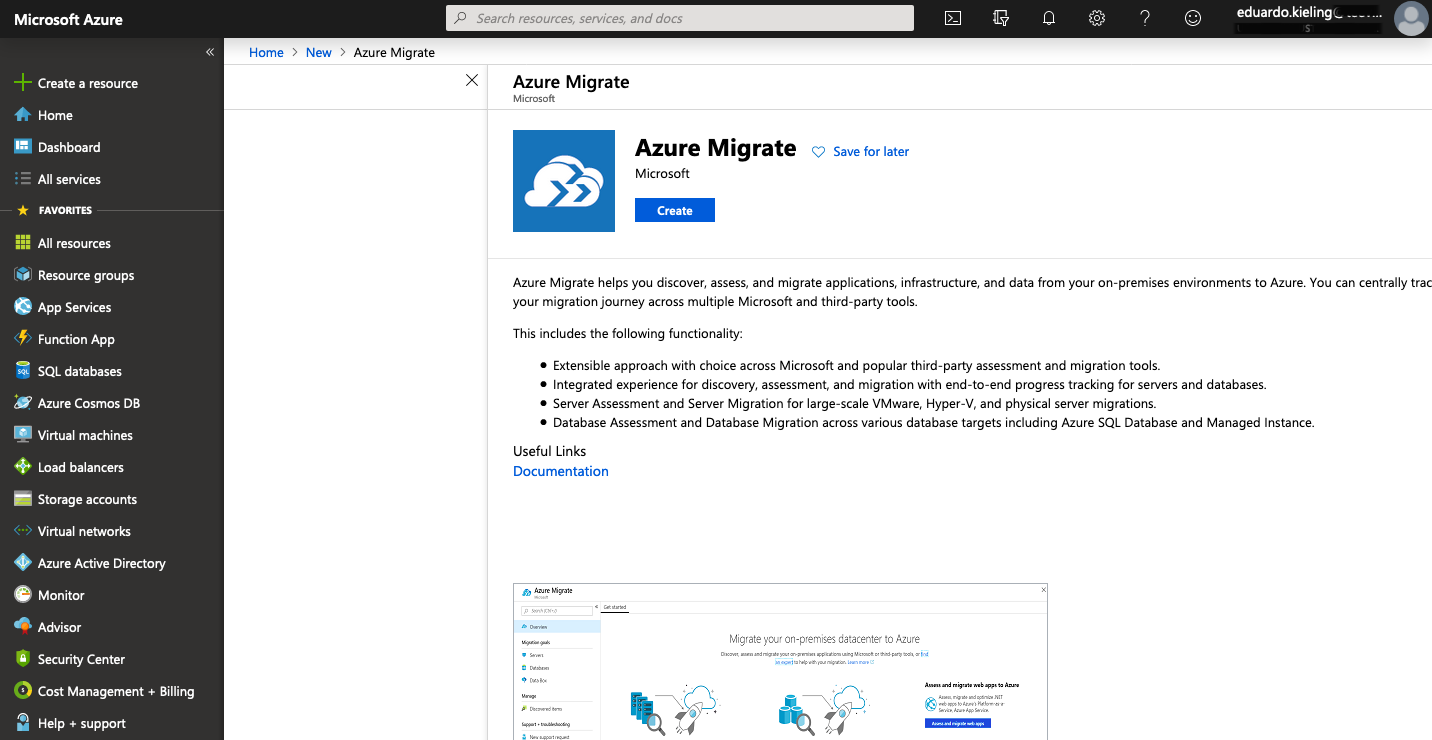
- As mentioned before we have a single centralized panel for all migrations that are supported with Azure Migrate. In our case, simply click “Assess and migrate servers”.

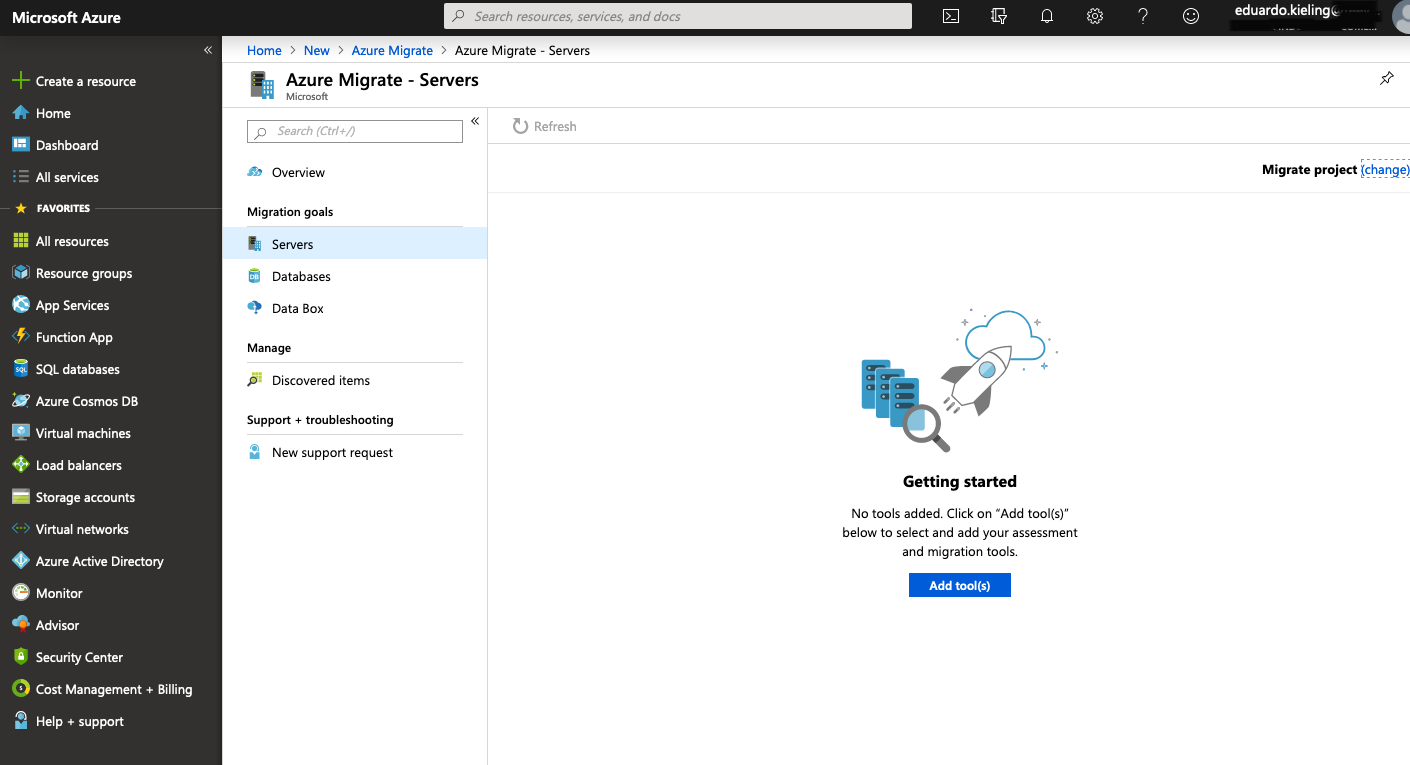
- After the previous step, we will go to “add too(s)” and add our Azure Migrate migration tools.
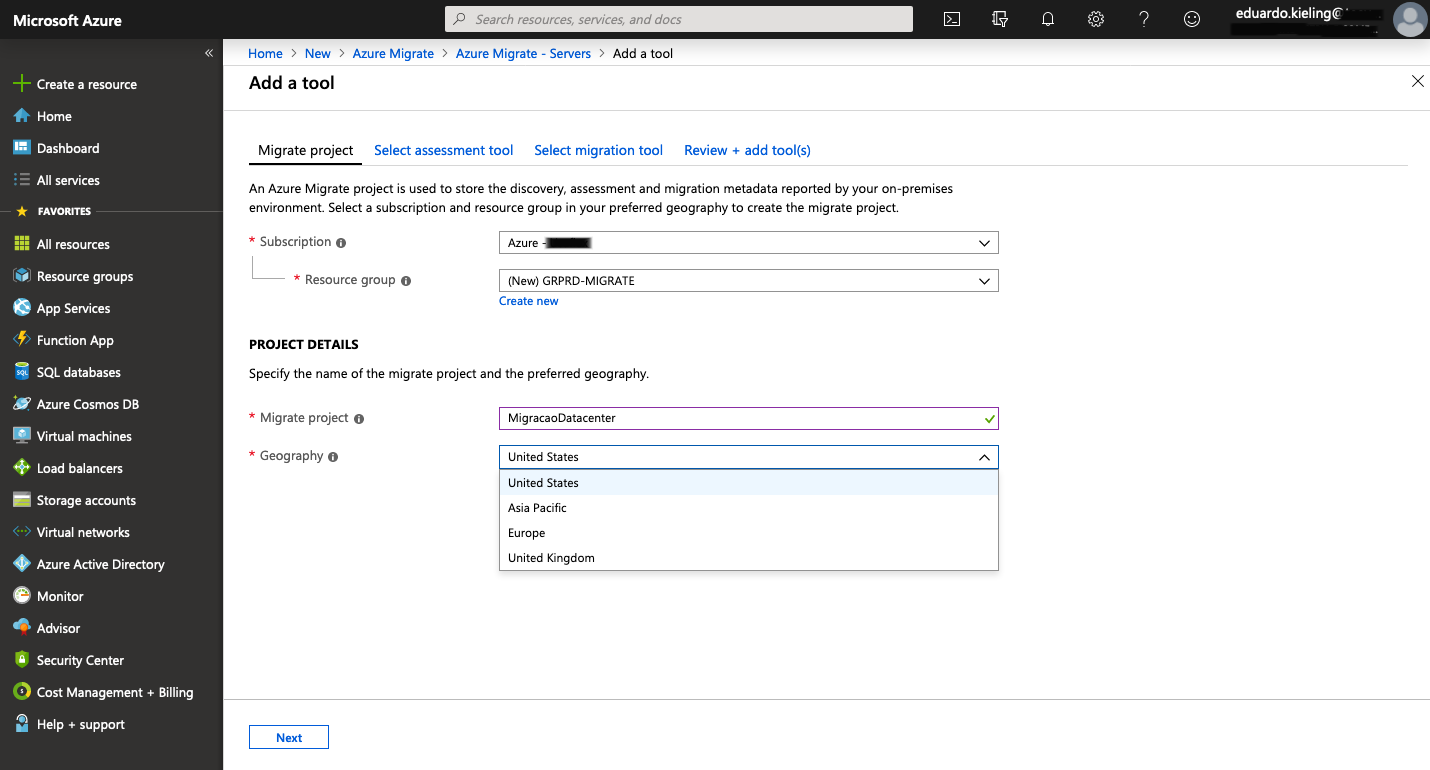
- Select our subscription and create a new resource group to accommodate our Azure Migrate project. In this case, we created RG GRPD-MIGRATE:
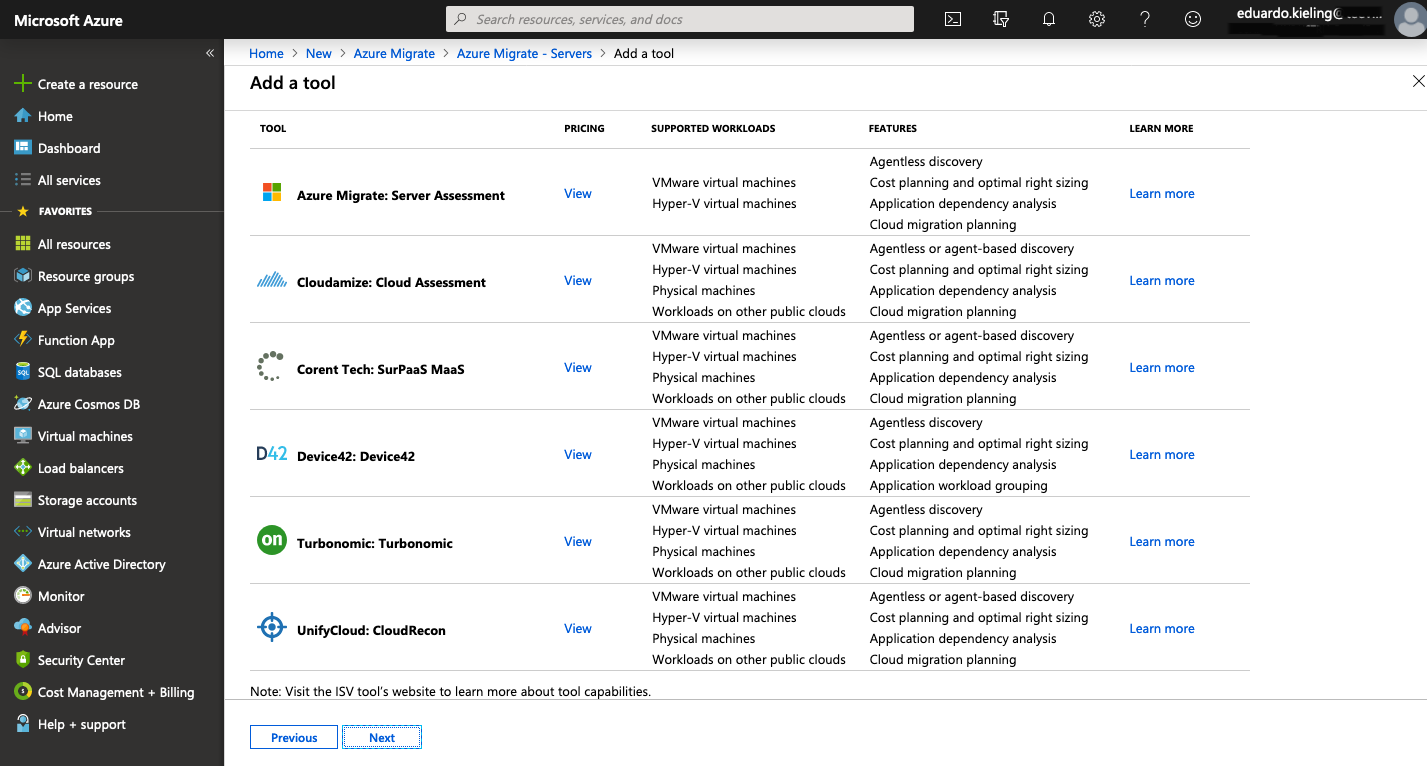
- Next, we have tool options for assessment, Microsoft and ISVs. In our case, we used the assessment tool itself for demonstration.”
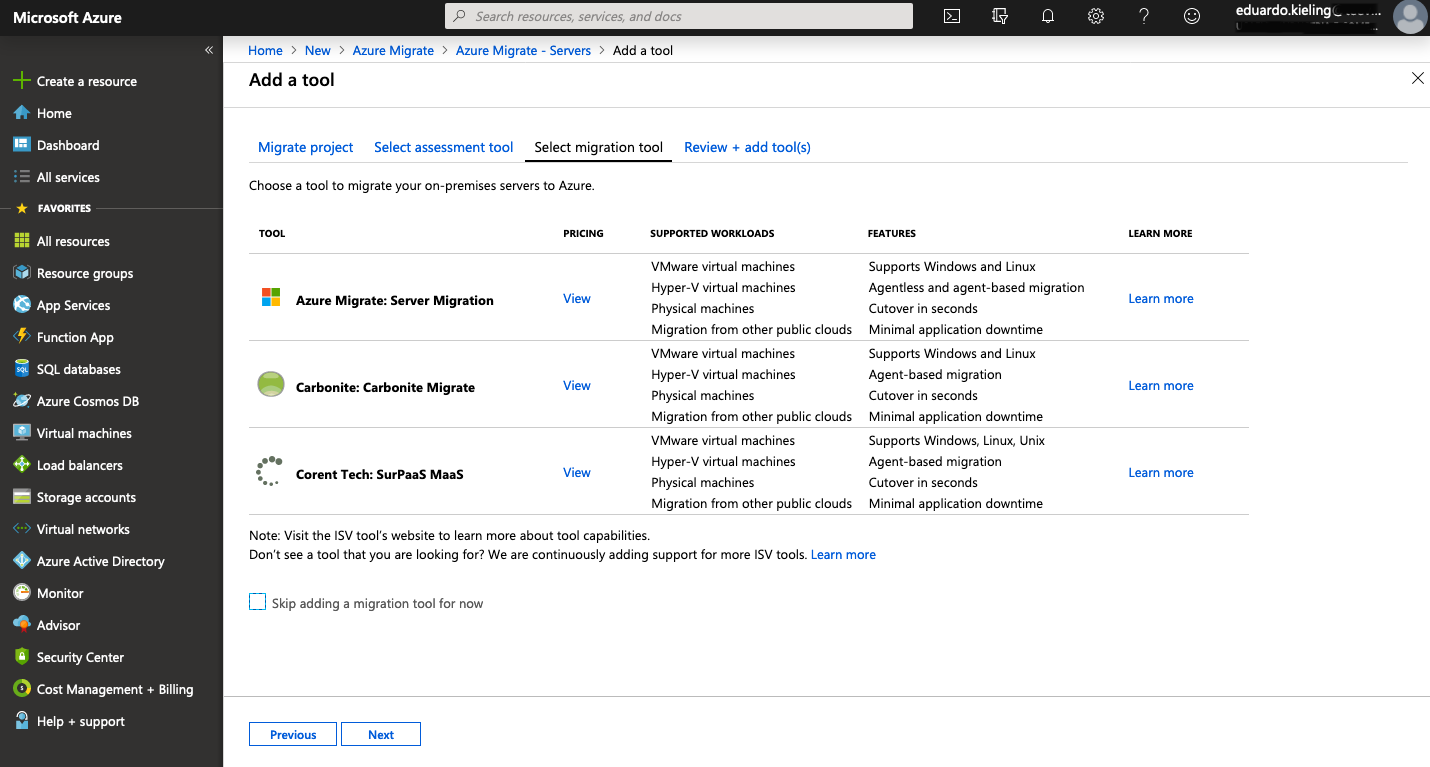
- As a next step, we should choose our migration tool. It can be from Microsoft itself or from an available ISV. In our case, we will use Microsoft’s own tool “Azure Migrate: Server Migration”:
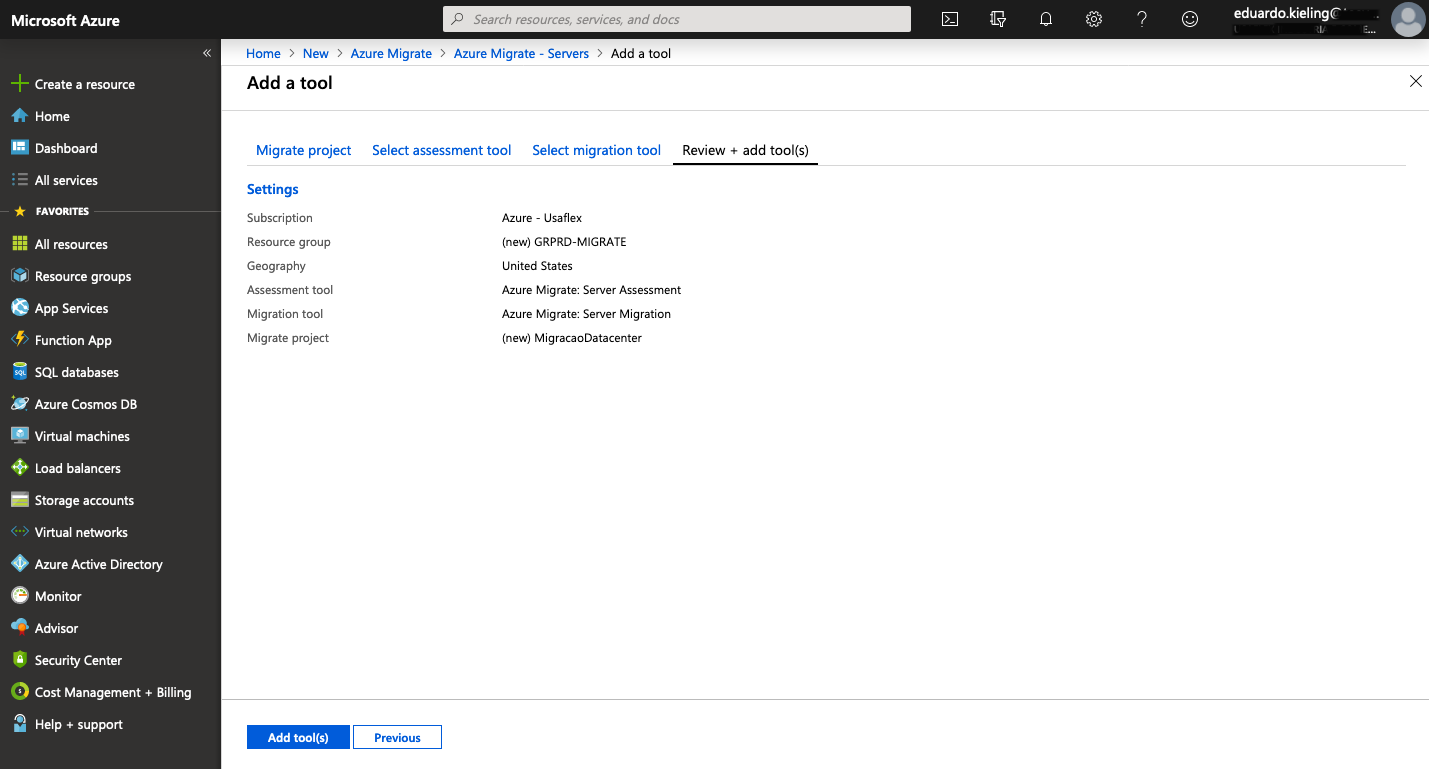
- To finish choosing our tools, a summary of what has been configured so far is presented, just click on “Add tool(s)” to complete.
- After choosing the tools, if we go to “Servers”, we can identify the properties of each of the previously selected tools. And for our scenario, we go to “Assessment tools” and click on “Discover” in the tool “Azure Migrate: Server Assessment”.

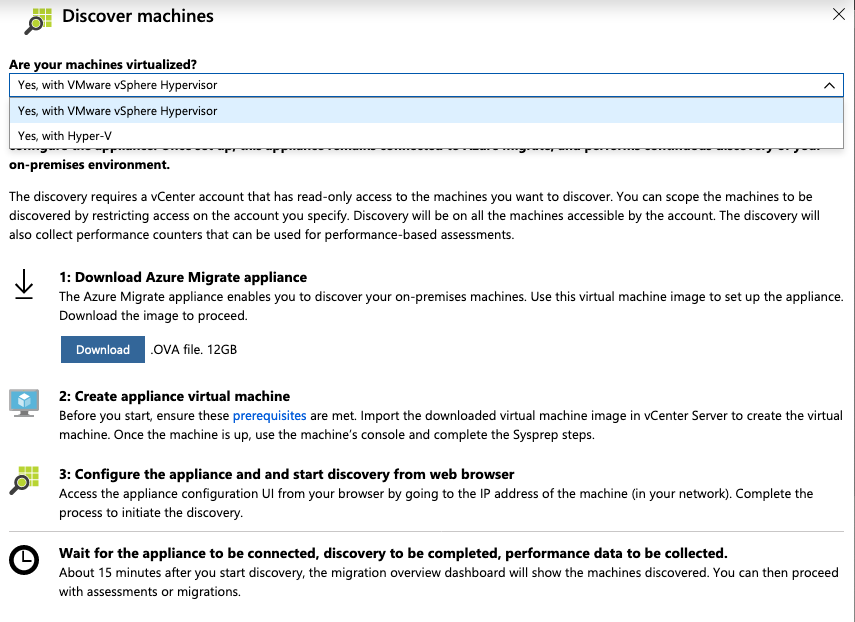
- In “Discover Machines”, we will have two options, one for VMware environments and another for Hyper-v environments. In our case, we will select “Yes, with VMware vSpehere Hypervisor”, since it is a VMware environment. After selecting this option, we will download the .OVA file (VMware template of the appliance for Azure Migration) by clicking on “Download”.
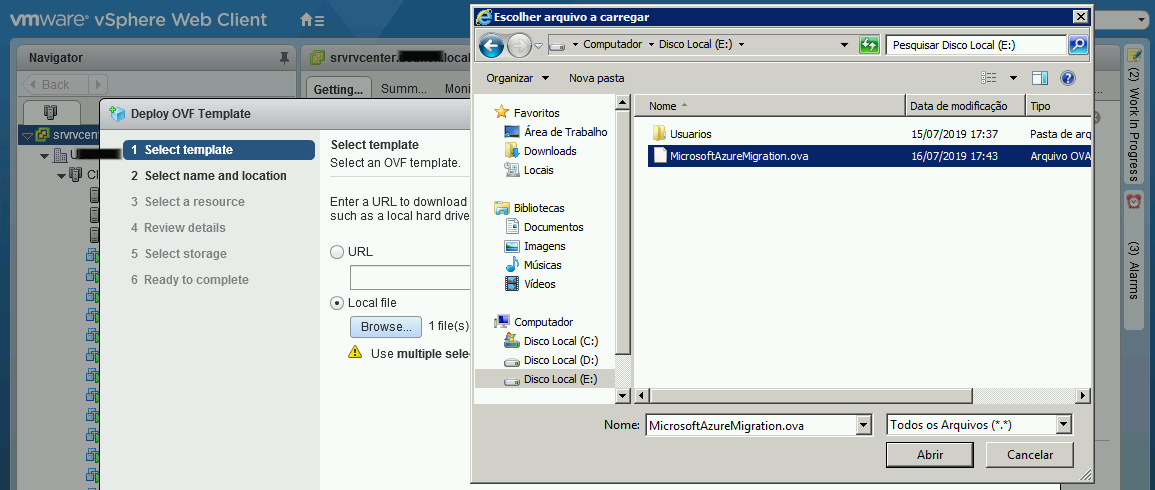
- When the download of our template is complete, we go to our vCenter Web Client, click on the vCenter server and select the option “Deploy OVF Template”, selecting the file “MicrosoftAzureMigration.ova”.
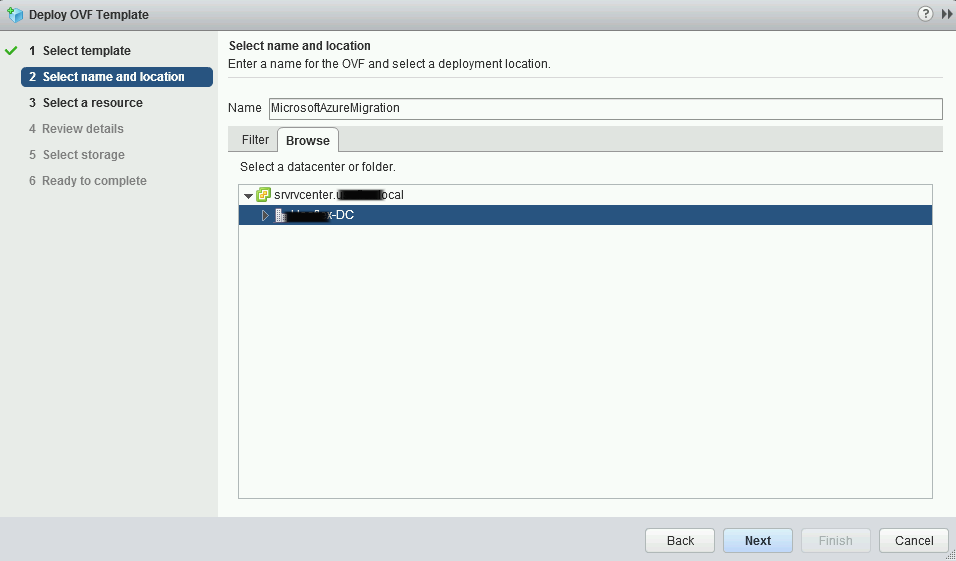
- Next step, we need to select our Datacenter within vCenter.
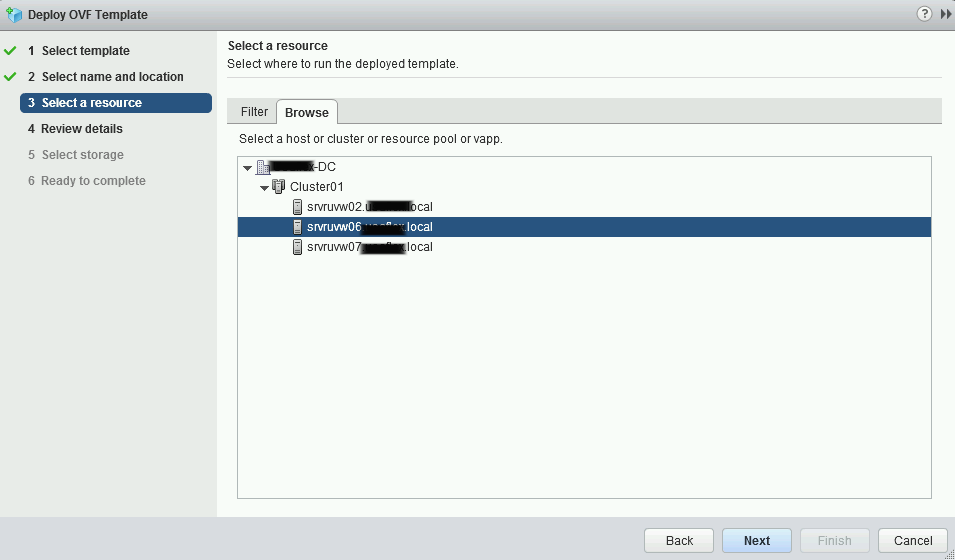
- We select the cluster and host where the appliance will reside.
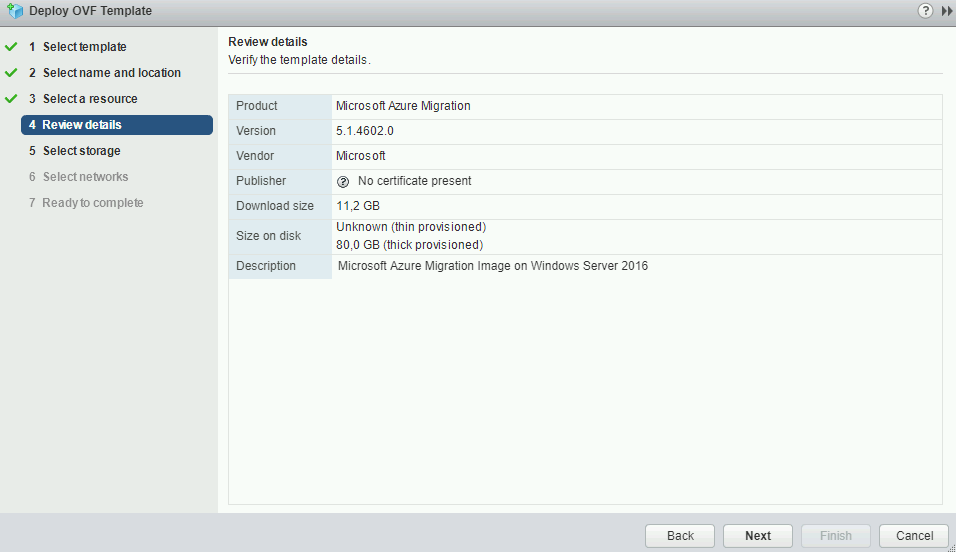
- The options and versions of the appliance that we downloaded are displayed.
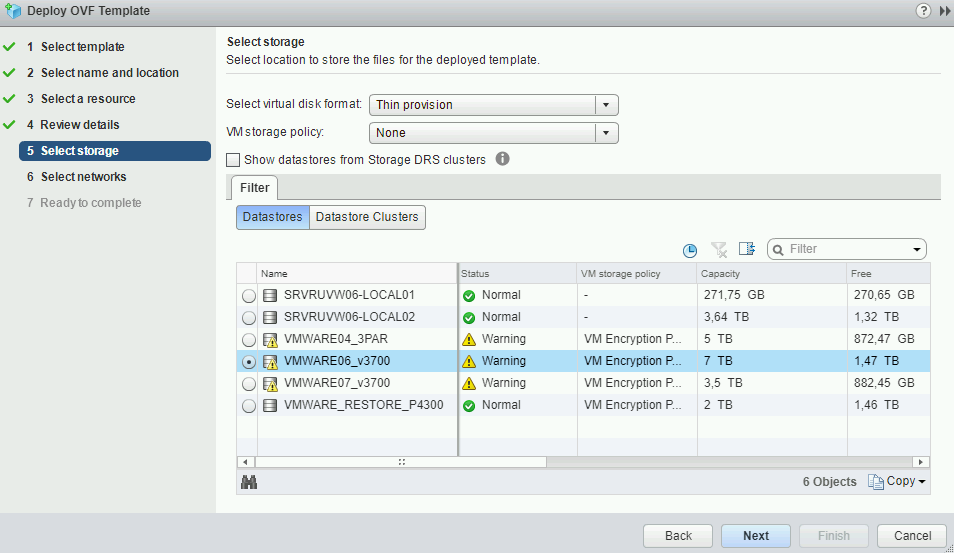
- We select the Datastore in step 5 and in step 6 we define the network where the appliance will reside.
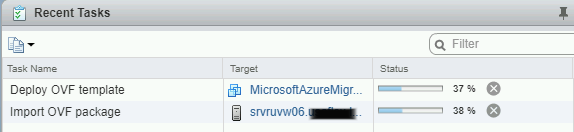
- After completing the previous steps, the appliance will begin to be provisioned according to the configured options.
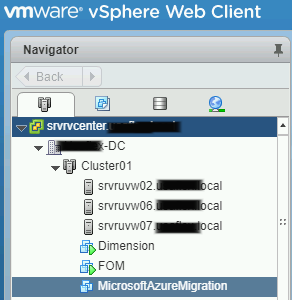
- After provisioned, the appliance will appear in vCenter turned off with the name “MicrosoftAzureMigration”.
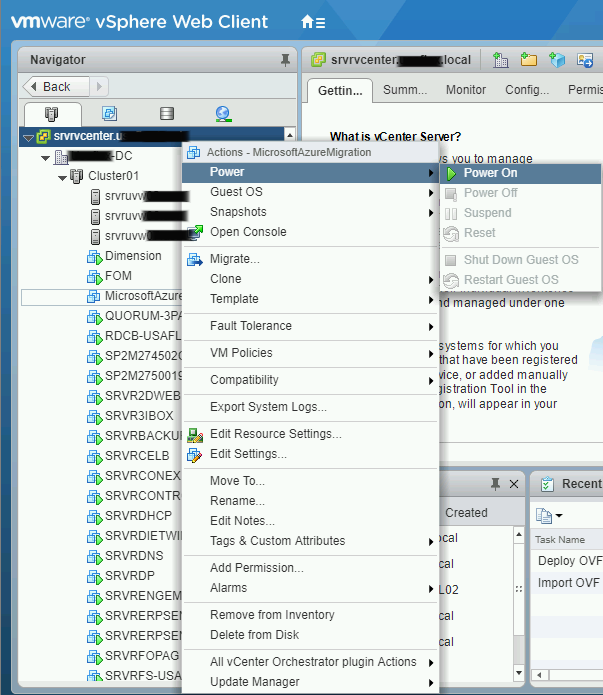
- Right-click on the “MicrosoftAzureMigration” appliance, go to the “Power” menu and then turn it on by clicking on “Power On”.
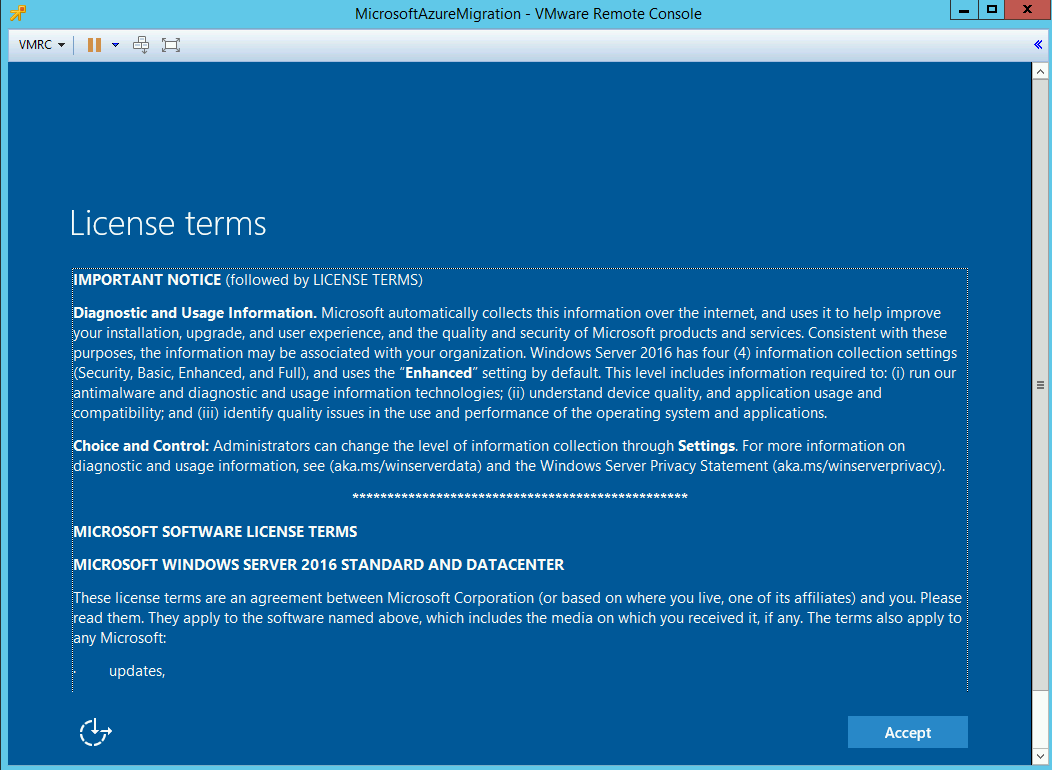
- With Azure Migration’s appliance turned on, it will be necessary to accept the license terms.
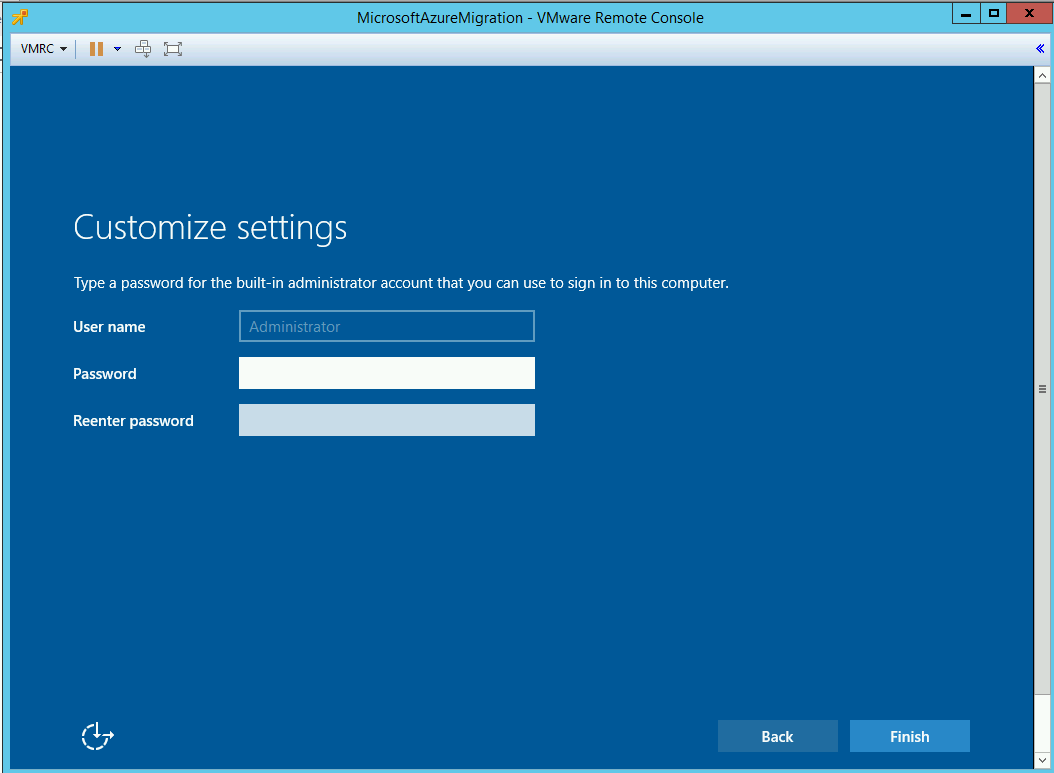
- After accepting the license terms, we need to set a password for our appliance’s operating system.
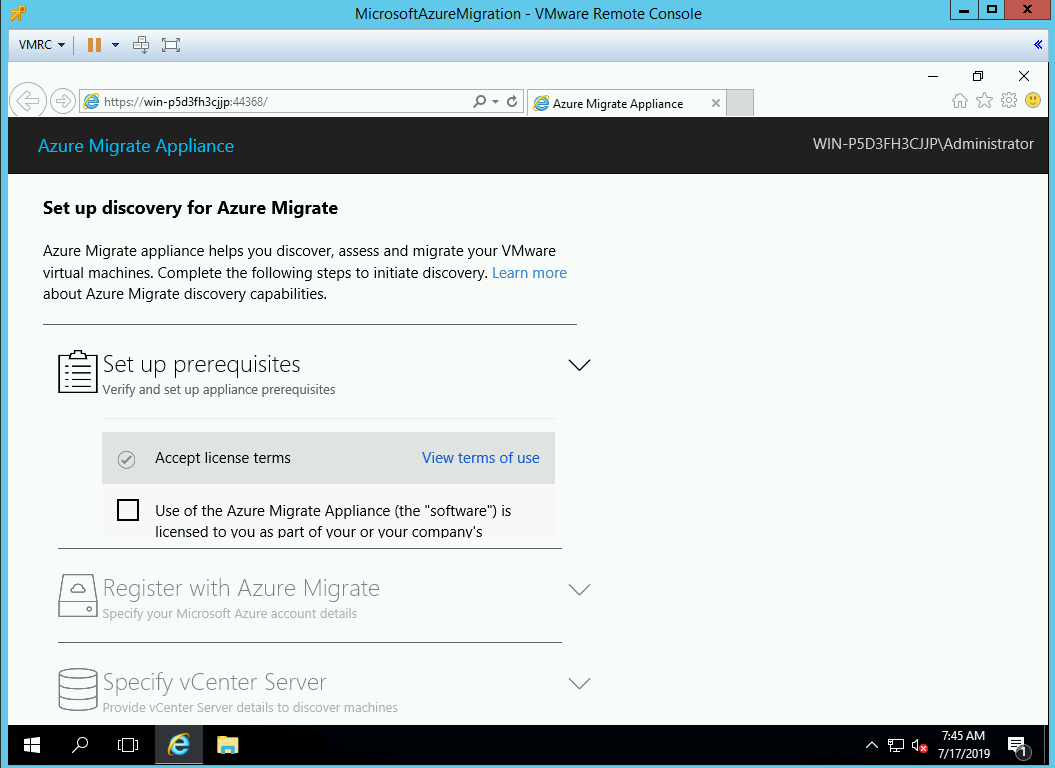
- With the appliance powered on and password set, it will auto-execute a web application where we will verify the prerequisites and accept the license terms again.
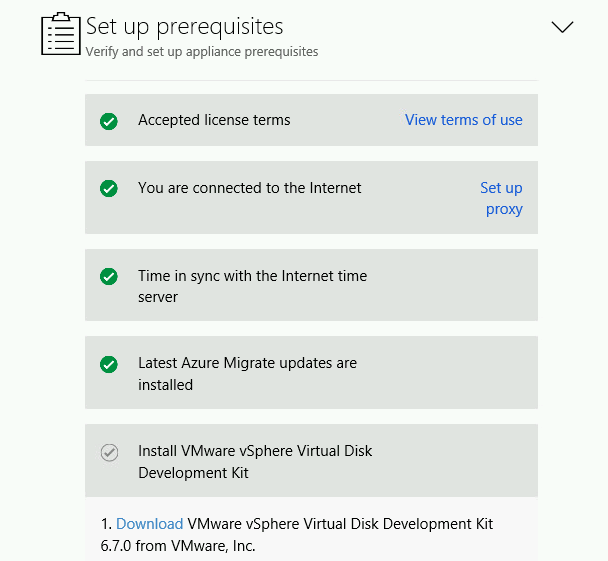
- In the prerequisites, we will need to install the Vmware vSphere Virtual Disk Development Kit on the appliance, where the download will redirect to the Vmware website.
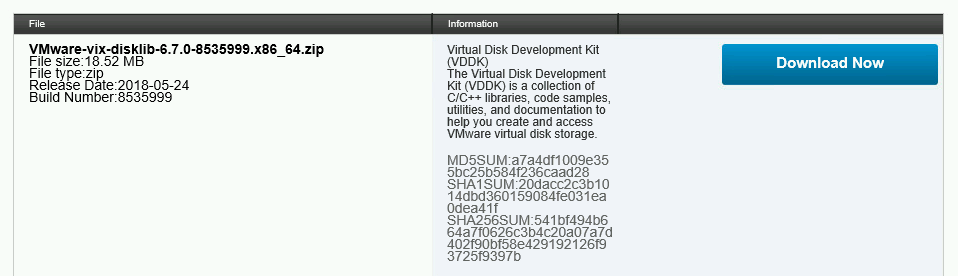
- On the VMware website, download the VMware-vix-disklib-*** file (current version).
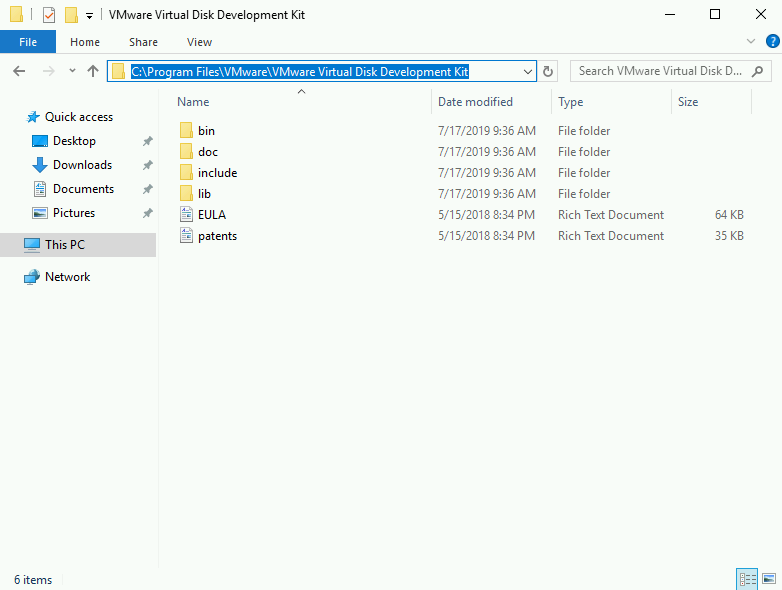
- To install “Vmware vSphere Virtual Disk Development Kit”, we need to extract it into the directory: C:\Program Files\VMware\VMware Virtual Disk Development Kit.

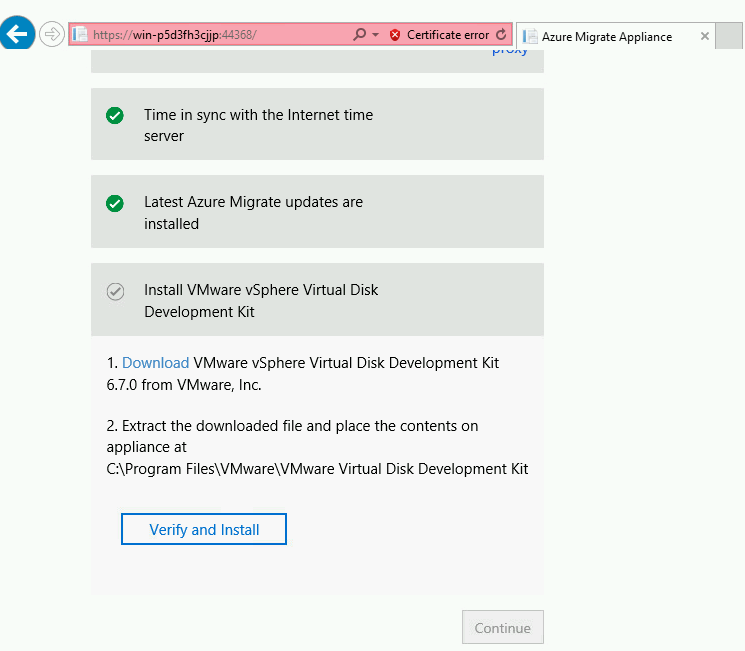
- After extracting the files into the directory mentioned in the previous step, we need to click on “Verify and Install”, where “Vmware vSphere Virtual Disk Development Kit” will then be installed
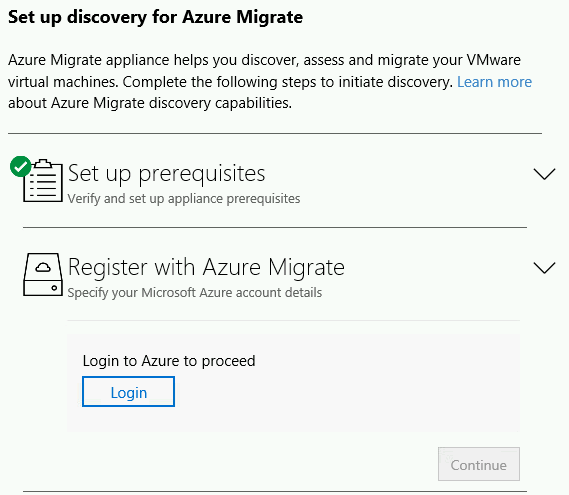
- With the prerequisites installed, we need to register our appliance in our tenant/subscription by clicking on “login”.
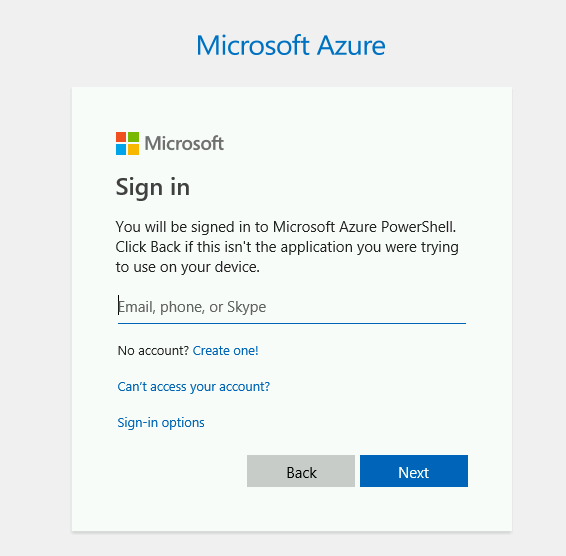
- Your credentials will be requested.
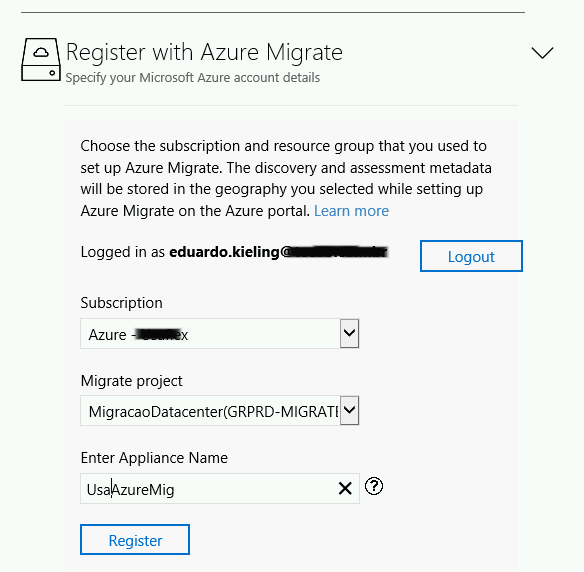
- We select the subscription and migration project we created earlier, as well as define a name for the appliance. We then click on “Register”, thus completing the registration of the appliance.
- With the appliance registered, it will then be necessary to link it to your VMware environment’s vCenter Server by specifying the Ip/name address, port and access credentials, finalizing this step by clicking on “Validate connection”.

- With vCenter Server linked to your appliance, a scan will be started to list all virtual machines and other information about them.

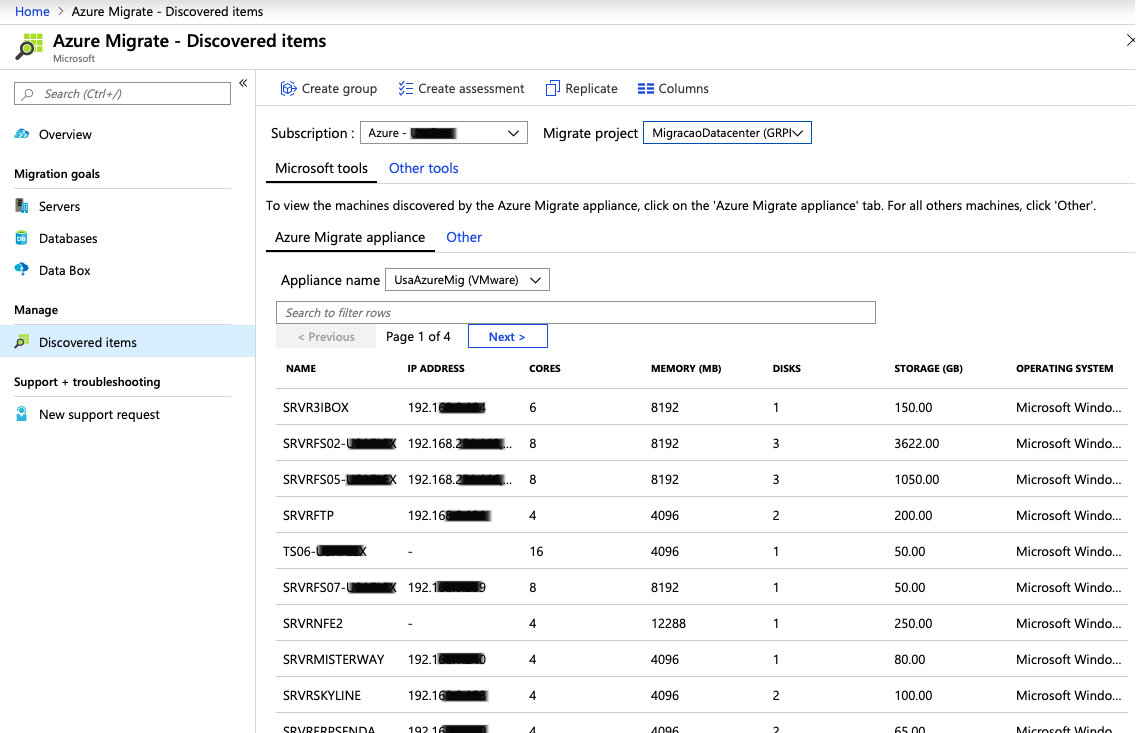
- After scanning is complete, our deployment will be concluded. You can check the list of virtual machines in Azure Migrate portal in Microsoft Azure.
Finally, we conclude our Azure Migrate deployment. If you have any questions, please don’t hesitate to ask.